Video Card Upgrade Install Guide
Tour The New System Settings
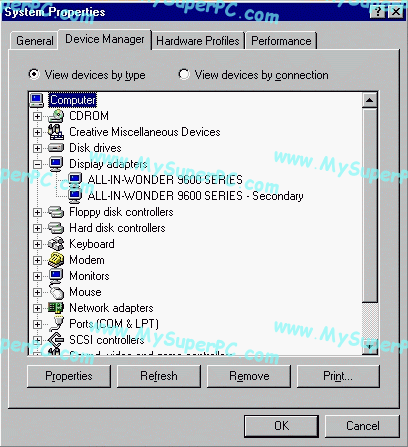
Right-click on the "My Computer" icon. On the pop-up window, click on Properties. The System Properties window opens. Click on the Device Manager tab to see the list of system devices. Clicking on the "+" sign next to Display Adapters shows I have an All-In-Wonder 9600 Series. Since the video card is the ATI All In Wonder 9600 Pro 128MB, that's exactly right. There are two entries shown because the ATI All In Wonder 9600 Pro is a dual monitor video card.
Right-clicking on the value shown under "Display Adapter", which is "ALL-IN-WONDER 9600 SERIES" now, brings up a pop-up window. Clicking on "Properties" in the pop-up window brings up this window.
Clicking on the "Driver" tab and then clicking on the "Driver File Details" button shows which version of the ATI reference drivers are currently in use.
Clicking "OK" twice returns to the System Properties window as shown in this screenshot.
Right-click on "Computer" at the top of the window. A pop-up menu appears. Click on Properties in this menu to see the IRQ settings after the video card upgrade. The IRQ settings are shown. Scrolling down a little finds the IRQ for the video card at IRQ 10, same as it was before and still being shared with the same things as before. Ok, fine.
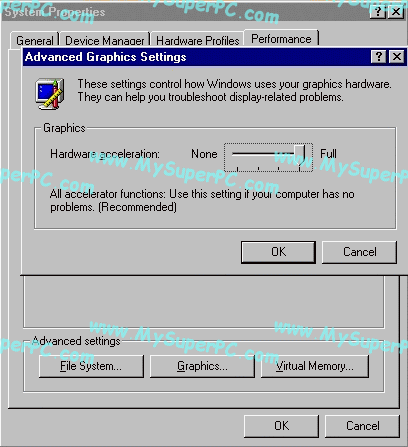
Click on the "Cancel" button and now select the "Performance" tab on the "System Properties" window to see the window change to look like this. On this window, push the "Graphics..." button.
The "Advanced Graphics Settings" window appears. The slider next to "Hardware Acceleration:" should already be pushed to the far right "Full" setting. If it's not then you may want to carry-on and run the tests on the following pages while leaving it at whatever setting you have. If all the tests work then come back here and move the slider to "Full" and try the tests again.
Clicking on "Ok" twice returns to the desktop.
Skip Ahead
© 2001-2015, Rob Williams, all rights reserved.
|

|


